Top 10 Tips for Photographing Eels and Eel-Like Fish
Eels are the snakes of the underwater world – evoking excitement, curiosity, and fear in those lucky enough to behold them. They slither through the cracks and crevices of the deep, often hidden in plain sight by their ability to blend in with the substrate around them. Because many eels and eel-like fish exhibit a wide range of habitat distribution, colors, patterns, and behaviors, they are coveted by underwater photographers in almost all dive destinations. One might think that photographing a relatively stationary eel would be easier than swift schools of ever impatient pelagics. However, an eel’s complex habitat, body structure, and patterns can create a significant puzzle for the underwater photographer. Here are some of our best tips for photographing eels and eel-like fish…
1. Use Contrast and Depth of Field to Isolate Your Subject
An eel’s habitat introduces the majority of the problems that underwater photographers face when photographing them. Eels often live at the bottom of the ocean, slithering through holes between medium sized rocks. They rarely protrude above the substrate, and often blend in with the rocks or coral themselves. This makes it very difficult to isolate an eel from its background – often producing a cluttered or flat photo. The reason it can seem that reef fish are easier to photograph, even if they are quicker, is that reef fish hover above the bottom. This isolates them from the background and contrast is created with the blue water behind them.
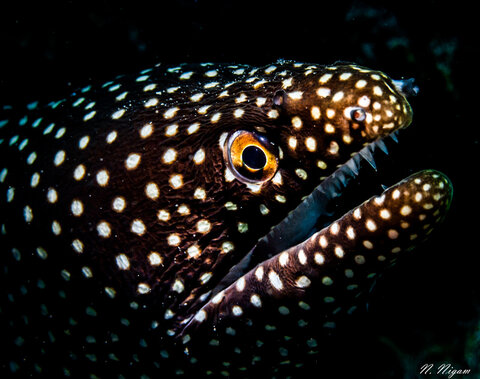
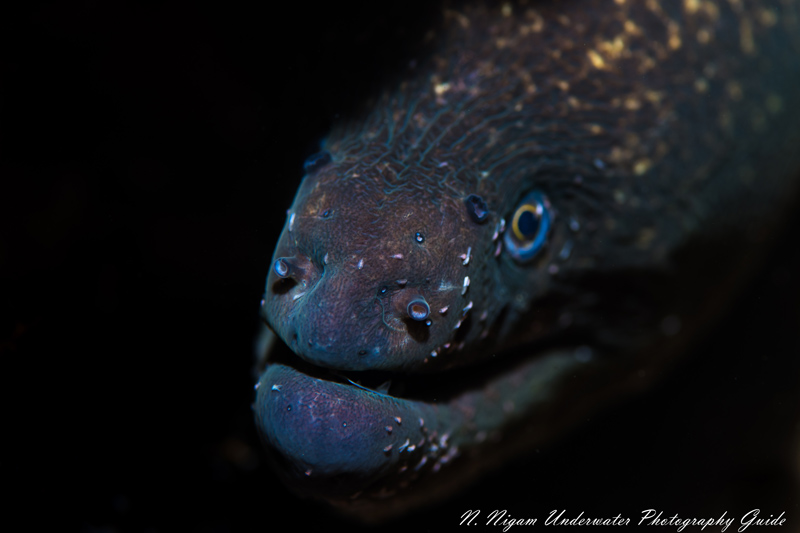
So what’s the best way to isolate an eel? Contrast and depth of field! Contrast can be created in the image in many different ways. The most effective method is to shoot from below the eel (if it is coming out of its den) so that the background is mostly blue water. However, it can be very difficult to find an eel in a position to take this photo. Another option is to use a single strobe and light the eel from the side. This can be effective to varying degrees. If the eel is in its den, sometimes you can get the light from your strobe to just touch its face so the rest of the den remains dark. If you are proficient with a snoot, attach it to the single strobe, and it will create even more contrast/ black background in the image.
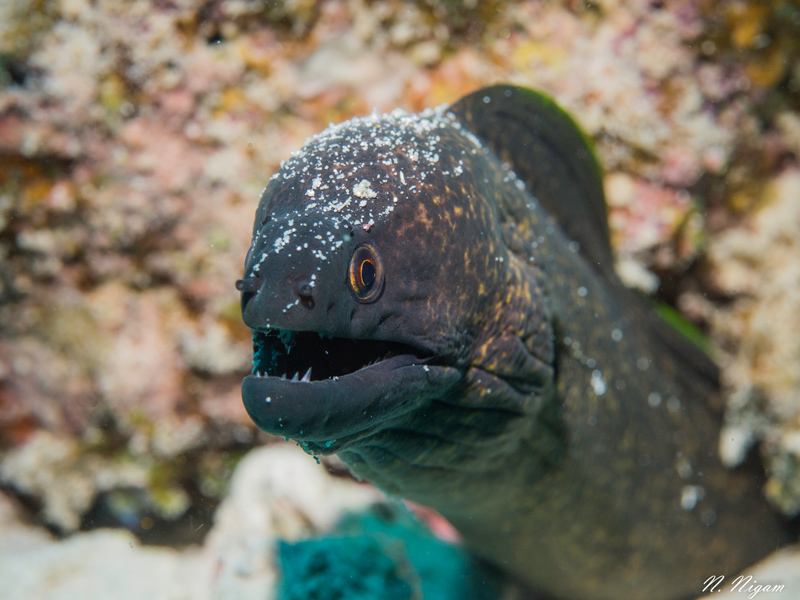
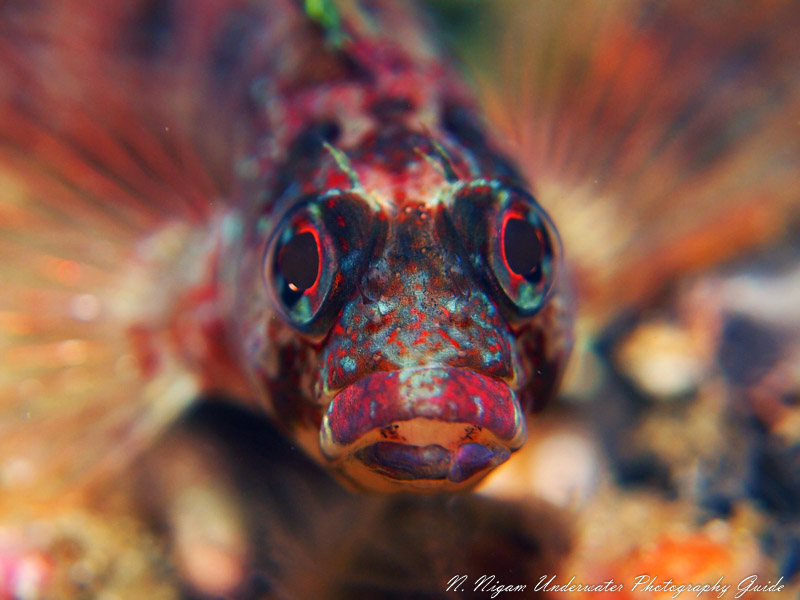
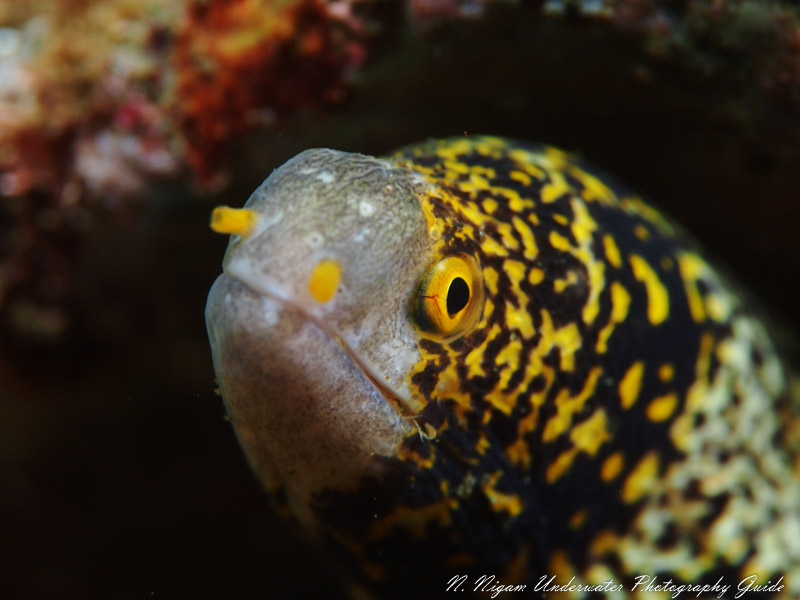
If I feel that the eel cannot be isolated from the substrate using light, then I will isolate it using a shallow depth of field. The best way to do this is to shoot with a fast macro lens and lower the f-stop so that the aperture is close to as wide as possible. This will keep the head of the eel (or parts of the head) in focus while the substrate and rest of the body is blurred into a nice bokeh. It’s important to keep aesthetic features (especially the eyes) in focus for the full effect of the bokeh.
2. Catch it with its Mouth Open!
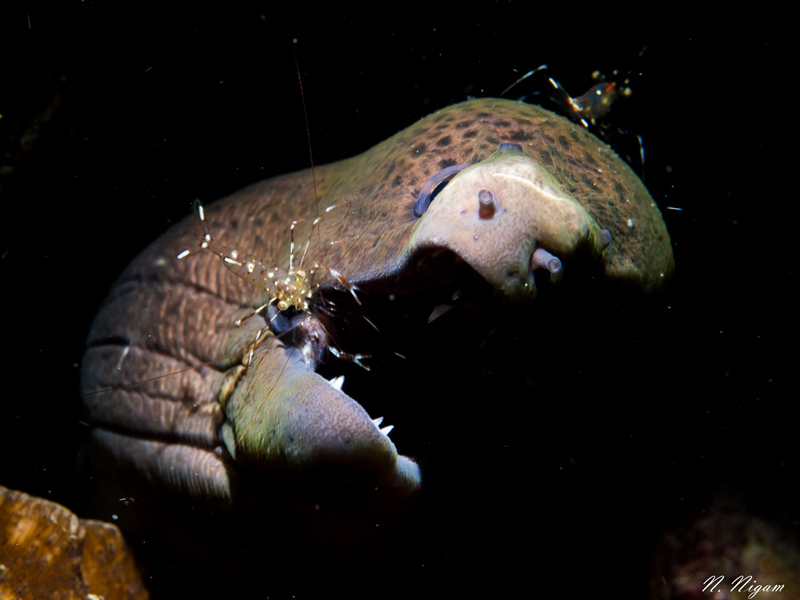
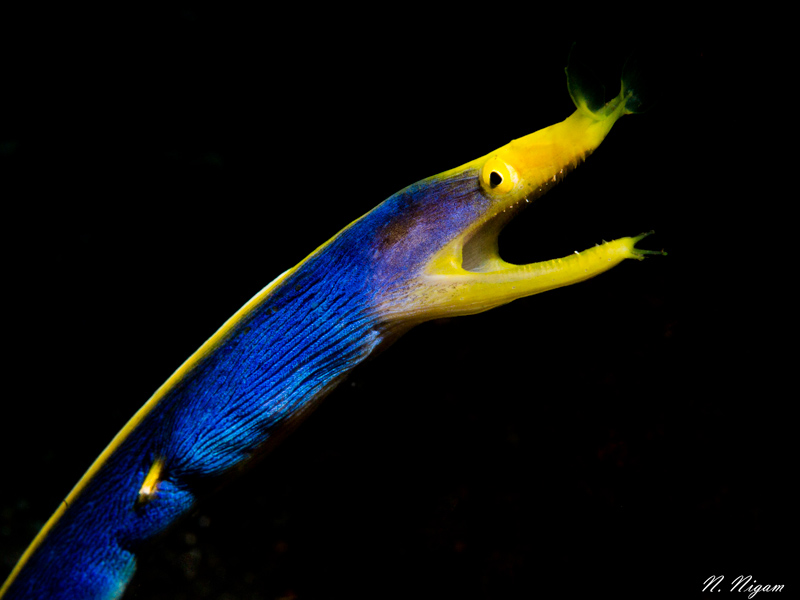
Perhaps the most charismatic eel behavior is their constant “breathing”, something I managed to capture while diving in Phuket, Thailand. Because eels don’t use gill covers (operculum) to pump water across their gills, they have to open and close their mouths to breath. When you capture an eel with its mouth wide open, it can create a threatening and fierce look in your image.
With my mirrorless camera, I often time my photo by pressing the shutter right as the eel finishes closing its mouth. The inherent lag in the device will make the shutter coincide with the opening of the eel’s mouth. I use single auto focus instead of continuous because it helps me compose the image a little better. I have the focus lock on a point, point the camera to my desired composition, and click the shutter at the opportune time.
When the eel’s mouth is open, be on the lookout for little cleaner shrimp and fish that meander about the mouth looking for a morsel among the teeth.
3. Teeth Add a Little Character
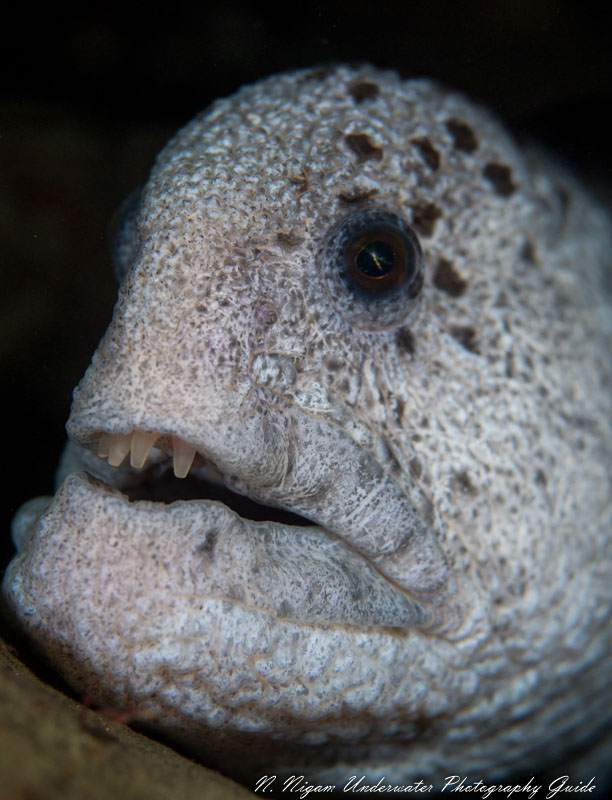
Teeth in an eel photo can make the subject look menacing – particularly with eel species that inherently have big teeth. Teeth can be tricky photograph. For the full effect you need to isolate them and make them the focal point of your image. As mentioned before, it’s important that you time your photo so the eel’s mouth is open. But most importantly, you need to be able to light the eel with a beam of light pointed directly at the side of its head. This creates contrast and shadow that bring out the shape of each tooth, giving the eel a fearsome grin.
4. Use a Fiber Optic Snoot for Dramatic Effect
Our first tip was to use contrast to isolate your subject. Well the absolutely best way to do that is with a fiber optic snoot. A snoot is a flexible bundle of fiber optic cables that attaches to the front of your strobe and concentrates the light into a smaller, moveable circle of light. Although traditionally used to create black backgrounds with small macro subjects, snoots can be very effective lighting even medium sized eels. Instead of placing the snoot in the default position directly above the subject, I often point the snoot directly in front of the subject or from its side. This can create nice dramatic, contrast with the substrate behind it. Black background can easily be created as long as a little bit of open water lies behind the subject. Fiber optic snoots are also great for lighting an eel that has retreated far back into its den.
5. Shooting from Directly in Front of the Subject is Thought Provoking
As much as photographers warn against perfect symmetry in photos, people are often drawn to symmetry naturally. Shooting from directly in front of an eel or elongated fish creates an unusual symmetry with a comical feel to the image. The eel will appear slightly whimsical and bug-eyed.
6. Fill the Frame
Filling the frame with your subject is good practice in all underwater photography. But with eels in particular it is important to fill the frame with the eel or you can lose sight of it with all the surrounding substrate. It is generally easy to fill the frame with an eel since they don’t tend to move around much.
7. Keep the Eyes in Focus – Not the Snout
When taking a very close photograph of an eel’s head it is important to set the right focal points. The best place to focus is the eel’s eyes. It maintains the eel’s character in the image and lets the viewer appreciate what the eel might be thinking or feeling. It is a common mistake to have only the snout in focus (especially when shooting with a shallow depth of field). This can be a cool effect, but the loss of eyes to bokeh detracts from the image.
8. Know Where to Look
Although eels can sometimes be difficult to find, it definitely helps to know where to look! Eel habitat is fairly predictable. They like medium sized substrate with a lot of holes and tunnels to navigate and slither through. In the tropics they often hide among a network of tunnels formed in coral heads. In cold water they can be found on rocky slopes and rock piles. Eel-like fish often share similar preferences of habitat. Some eels will live in the same general area for a long time. It can be nice to get to know an individual and photograph them over the course of their life.
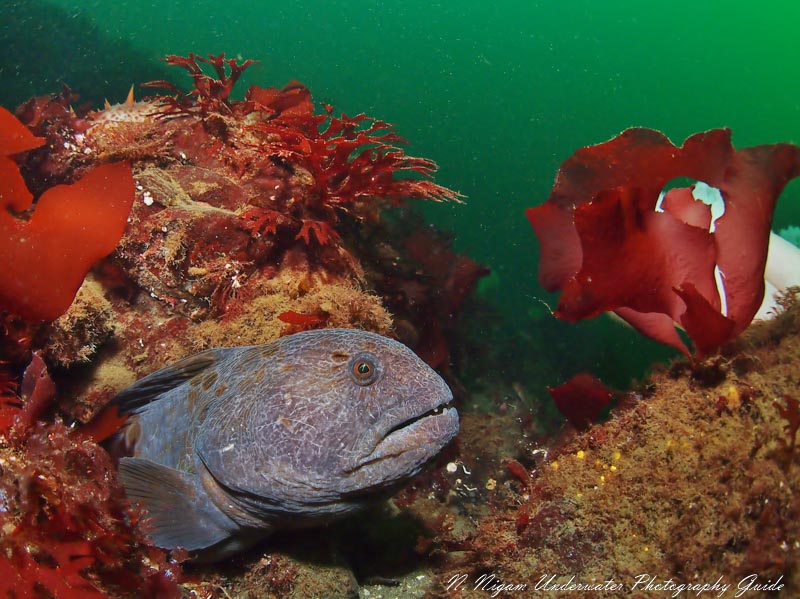
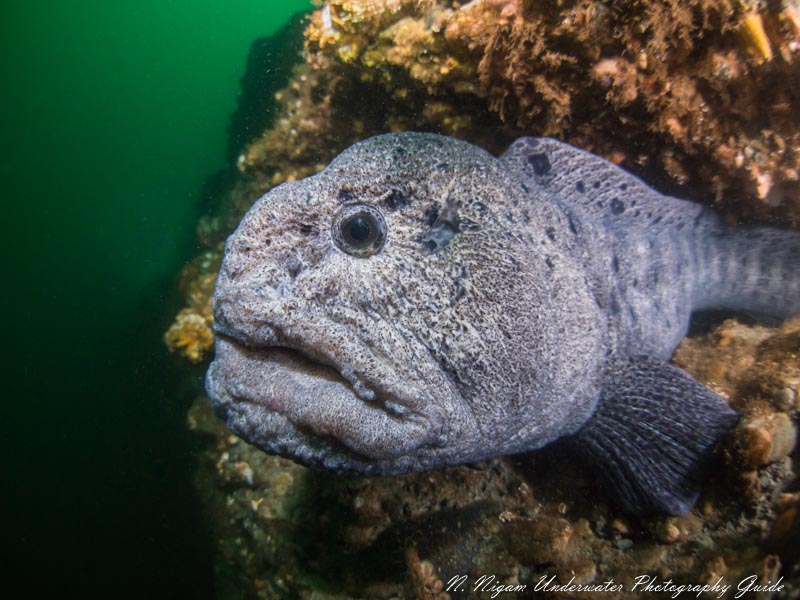
There are also some locales that are more prone to having eels than others. I find that tropical destinations with moderate diversity and moderate to low abundance often have a lot of eels. In particular I have found a lot in Mauritius, Hawaii, and the Dominican Republic. Locally in California, my favorite place to find moray eels is Casino Point on Catalina Island. In very cold water, such as in the Pacific Northwest, wolf eels and wolf fish fill the eel niche even though they aren’t true eels.
9. Be Patient
Fish that live in dens can be wary of the big, wide world. I find most eels to have a cautious but curious disposition. If you sit quietly at the entrance of their den, they may become curious enough to slowly approach you and your camera. However, if you immediately shine your light directly at them and blow a lot of bubbles, they tend to shy away. I also find that some eels don’t mind being photographed more than others. Usually after sitting outside of a den for a minute or two, I can get a feel for if an eel will be cooperative or not. If it won’t, I move on. If it is, however, I will take a couple of test photos and then slowly inch forward if the eel lets me until I have an image where I can fill the frame with the eel. Never feed eels to get them out of their den! Some eels will learn to associate divers with food. If they bit your hand, even mistakenly, the angle of their teeth will leave the flesh cleaved from your bone at best. Eels have been known to bite fingers off. But if they aren’t fed, they usually have a very nice disposition.
10. Go Wide!
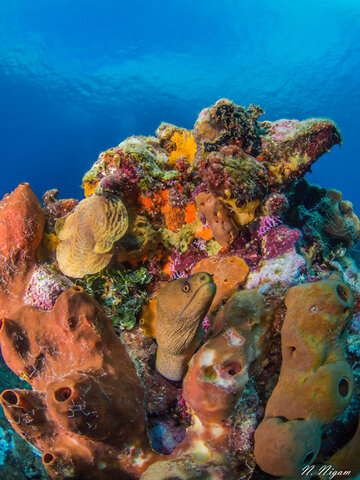
Most people associate eel photography with shooting macro. This is certainly not the case! If you are working with a cooperative eel, going wide gives you the potential to take an even more striking image. A fisheye lens will not only capture the habitat of the eel, but it will capture negative space in the form of water. This will give depth and contrast to the image, solving the issue of clutter in eel photography. The trick to shooting wide with eels is to inch very slowly towards the eel and shoot from the side of its head. Make sure that half your dome is angled to its head and den, and the other half of the dome is angled towards the outside of the den and water above. This will create the illusion of being inside the den with the eel. Shooting a little farther away from the eel can create a photograph where the eel becomes part of its environment – also an interesting artistic endeavor.
