10 Tips for Shooting Underwater Video
This article includes tips I’ve picked up in a decade of shooting underwater video – from other videographers, books or articles, and my own experience. Some may be familiar to those of you who started off shooting still photography; others address issues unique to video. Hopefully these 10 tips will help you get started, but remember that the best way to get better at shooting underwater video is just like anything else: practice!
1: Hold Still
Avoid shaky movements. Sounds easy, right? After all, your camera is surrounded by water and should be nice and stable. While it’s true that most underwater footage isn’t prone to the kind of rapid shake that handheld cameras usually produce topside, any amount of wobble can be extremely distracting to your viewers. Hold the housing as close to your body as possible to help stabilize it, or use a tripod (see tip #3!).
Click video beow to see handheld vs. tripod:
Make sure you keep the camera steady on your subject for long enough to get a good, usable shot. Count to 10 in your head once you’ve got the subject in frame and don’t re-adjust where you’re pointing the camera or change the zoom during that time. A 60-second shot full of slight moves, shakes, or zooming isn’t really a 60-second usable shot, and it’s surprisingly easy to sabotage yourself by thinking you’ve been “on” something long enough when you never have more than a few steady seconds at once!
2: Move Around a Little
Videos are more interesting if they contain a variety of shots. So along with all your nice, steady, still clips, you probably want to have a few taken while moving.
Practice panning the camera by twisting at the waist to aim the camera all the way to one side, hitting record, and then slowly unraveling yourself back to the other side (don’t try to turn your whole body using your fins as this will introduce more shaking).
Each kick of your fins makes the camera wobble for a moment, so try panning over or past your subject by frog-kicking. If you get a strong enough start, you can film a nice long, stable shot while coasting after each kick.
3: Use a Tripod
It’s almost impossible to hold the camera completely steady – especially in the frequently-surgey waters here in Southern California. You can get rid of that last trace of shakiness by using an underwater tripod. Several manufactures make mounts for different housing, and tripod legs to suit your diving style and price range.
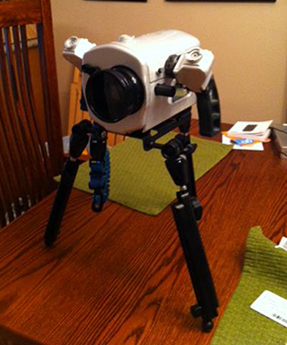
Using a tripod will kick your macro footage up to the next level. It’s also surprisingly useful when shooting wide angle. Extend one of the legs out to one side and use it as a handle to give your housing a wider, more stable platform. Or, extend a leg toward your own body to use as a monopod that braces against your chest.
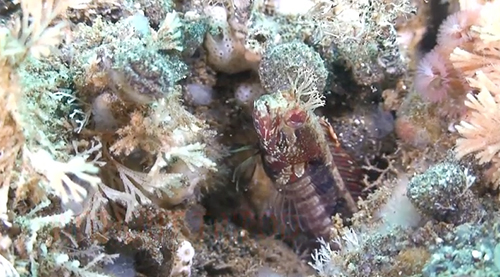
You can also leave your tripod set up on your subject and swim away – fish are much friendlier to cameras that don’t have divers behind them.
Shot with a tripod while after we swam away (click to watch):
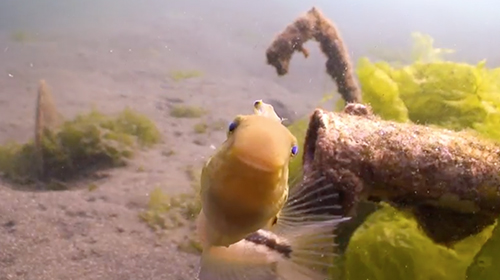
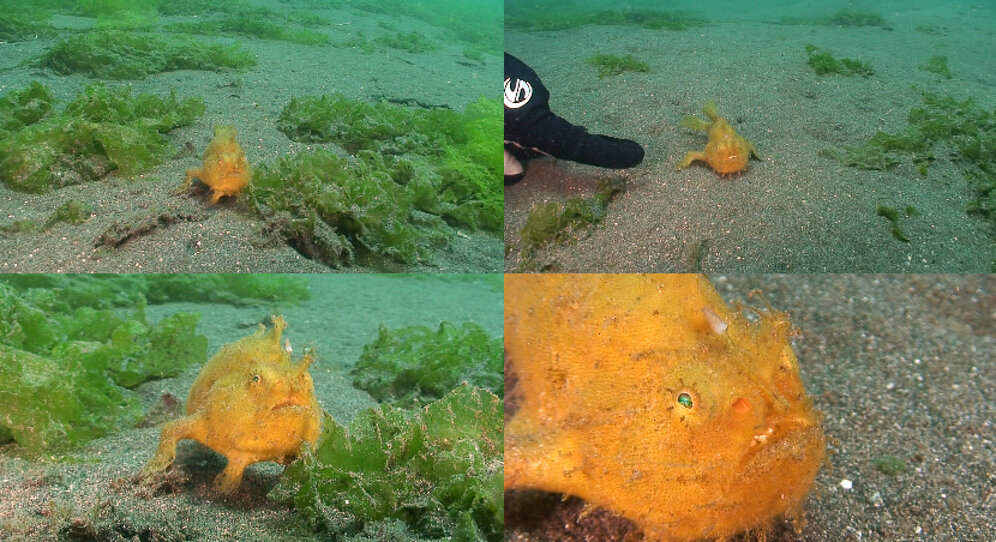
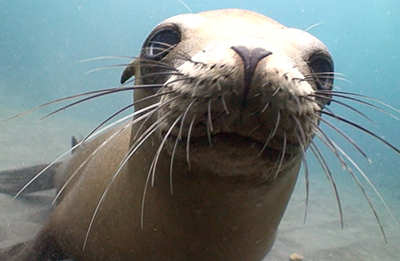
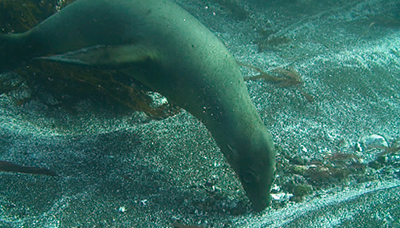
4: Follow the Action
When shooting a moving subject, keep it in frame and with plenty of “headroom” – just like shooting stills, you want to make it look like your subject still has room to move.
You can’t follow any critter forever, though, and if you try you wind up with a wobbly shot trying to “catch up” with it. After you’ve captured some amount of motion, hold the camera still and let the subject swim out of frame to “end” the shot gracefully.
5: Keep Rolling
Tape and memory cards are cheap – go ahead and take lots of footage! Some cameras take a moment to get rolling after you hit “record,” and that usually turns out to be the moment with all the action. If something cool is hanging around in the area, I just leave the camera recording, but put my hand over the lens so I can easily see later that there’s nothing “here”.
Of course, the flip side of this is that you’re going to have way, WAY more footage than anyone should ever be forced to watch. Keep in mind that the more footage you take, the more editing will be required. Some videographers truly enjoy the editing process, but those who don’t often learn to be better “in-camera editors,” only hitting the record button once they’ve got their shot all lined up and ready to go.
6: Get a Variety of Shots
When it’s time to edit your video together later, you’ll want to have a variety of shots to choose from. In particular, you want to try to get wide (establishing), medium, and close up shots of your subject whenever possible.
Try shooting your subjects from different angles, with different lighting. Take your time and give yourself lots of options for later.
Don’t forget the shots that will help glue the story together: divers gearing up or entering and exiting the water, wide angle shots showing the overall appearance of the dive site, empty shots of blue water or diver bubbles that can be useful while running credits, etc.
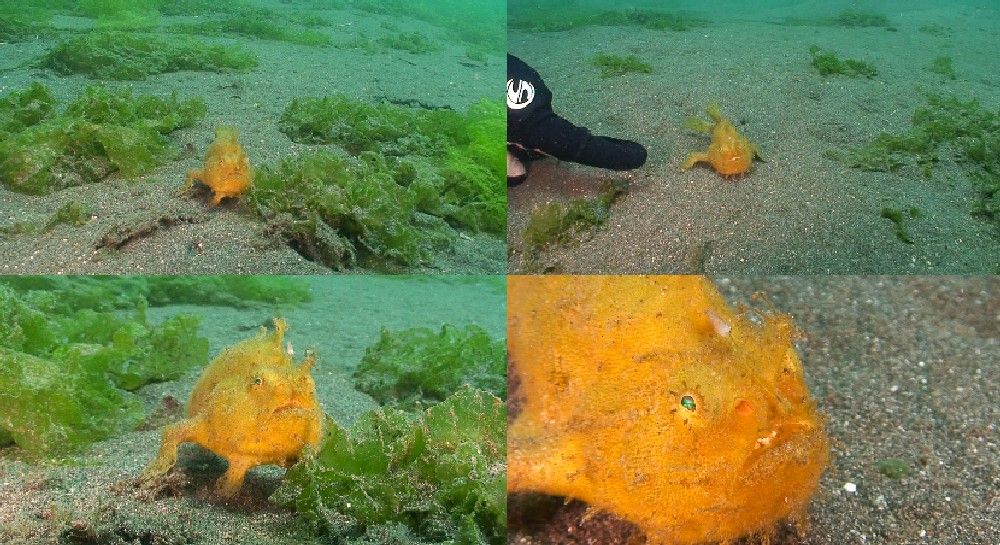
7: White Balance
Get familiar with your camera’s white balance functions. If you’re shooting macro with lights, you can probably just leave it on ‘auto.’ But if you’re using ambient light, even with a red filter, manual white balance is going to be your friend.
Manual white balance normally entails pointing the camera at something white (or close to white) and hitting a button, or an annoying series of buttons. Sand usually works, though in some locations the sand has too much red or yellow in it to make a good white card. Dive slates can work, but may need to be held at a bit of a distance and slanted so they aren’t glaringly reflective. If all else fails, point straight up towards the sun (or make your buddy wear white fins).
It’s often tempting to stop fiddling with white balance and just “fix it in post.” But trust me: fixing it in the camera will look much better!
Ambient light and red filter; manual white balance.
Ambient light and red filter; automatic white balance.
8: Know When to Use Lights and Filters
Here are my rules of thumb – with the caveat that your mileage may vary based on your camera’s performance in different lighting situations:
-
Wide-angle, 45′ or shallower: Use a red filter and ambient light. Manual white balance whenever you change depth or the lighting changes.
-
Wide-angle, deeper than 45′: if shooting something close, turn on your lights (extended above and to the sides of the housing to cut down on backscatter) and remove the red filter. If you’re trying to shoot something larger than the area illuminated by your lights, you may just have to settle for having extremely blue footage. Putting the red filter on may help you white balance, but at depth it also cuts out way too much light and leads to grainy footage.
-
Macro: lights on, no red filter. Experiment with different light locations. I usually put one light right next to the lens aiming directly at the critter, and use the other light to backfill some of the shadows from the side or above.
9: Deal with Divers
Other divers have a knack for getting in the way of a shot. One way to mitigate the damage is to get some nice footage of your fellow divers that can be cut into the video later – seeing bubbles suddenly streaming up behind your subject will be much less jarring if your next cut is to a shot of a diver looking at that subject.
If you dive with a still photographer, try to shoot your clips when they aren’t flashing the strobes. If your perfect shot is “ruined” by having a strobe go off in the middle of it, you can salvage it by cutting to a clip of a photographer taking a picture.
10: Check Your Footage
Those tiny little screens on video cameras help you figure out where to aim, and hopefully tip you off if you’re terribly out of focus or badly white-balanced. But to really get a good look at your footage, you need to look at it on a big screen.
Often I’ve taken what I thought was great footage – only to play it back on my HDTV at home and discover there’s a bit of dust on the inside of the lens that mucked up the autofocus. If you’re traveling and go days without really looking at your footage, you can miss things that ruin days of footage, so it’s worth it to take the time and make sure you’re getting the results you want at full resolution!
More Video Tutorials


