Pro Tips for Achieving Sharp Focus

Focusing takes place twice for me: once in the camera when I capture an image and then a second time when I work on that file in Lightroom/Photoshop. We will look at both of these moments in this tutorial and how I personally deal with obtaining a sharp photograph.
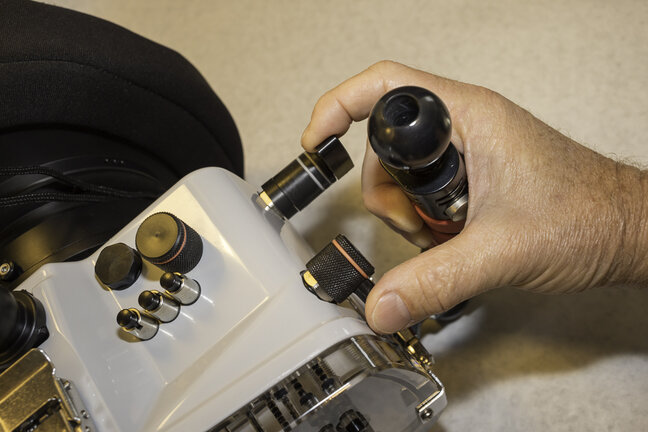
Shortly after digital cameras became standard for underwater photography, most housing manufacturers added an ergonomic control to effortlessly access a button on the back of the camera that you can set through a custom function to engage focus. On my Canon 5D Mark 4 this is marked as the AF-ON button and is one of three buttons together on the upper right corner of the back of the body. It is my understanding that a similar control is available on Nikon. Through the custom menu, I also turn off the shutter release to autofocus and use the AF-ON button exclusively to activate the autofocus. It can be challenging to have the correct feel for the shutter through the housing control and this is only exaggerated in cold water with the addition of gloves. Using this back-button focus technique eliminates (accidentally) shooting a frame when you are trying to focus with the shutter.
Lastly, I select the AI SERVO mode for focusing and turn on all the focus points in the camera. While holding the housing underwater I can then focus with my thumb and at the same time pull the shutter release with my trigger finger.
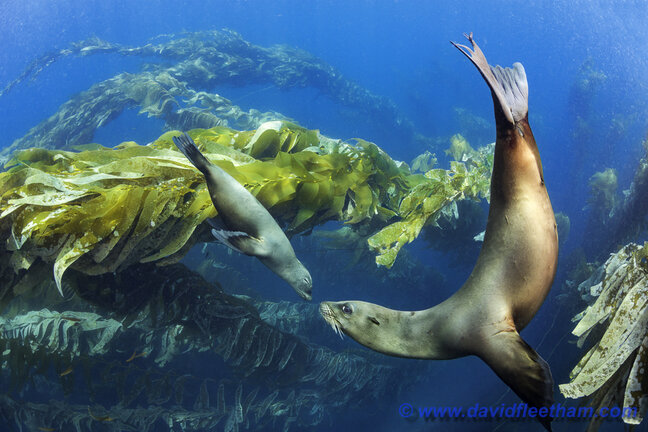
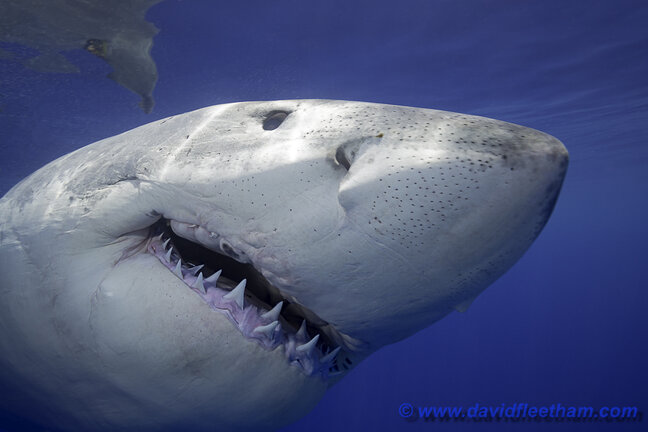
This two-step process takes a little getting used to, but it is now second nature for me. In the case of a wide-angle moving subject, I will hold the AF-ON button/lever down, allowing the camera to constantly update the focus while I am able to shoot frame after frame at the time of my choosing. This is essential for sharks, sea lions or dolphins that will keep a distance and then abruptly come up to kiss your dome port.
For macro, the AF-ON button can be used to “lock” the focus, in that when you are not holding down the lever, the camera will not change the focus. Often I will focus, frame and shoot a subject and then release the AF-ON button and recompose the composition and at the same time move the camera in and out to alter that critical plane that is sharp. I’ll shoot several images of the same subject, playing with its placement within the frame. This helps to eliminate the tendency many photographers have of centering the subject in a composition.
Post-Production to Enhance Sharpness
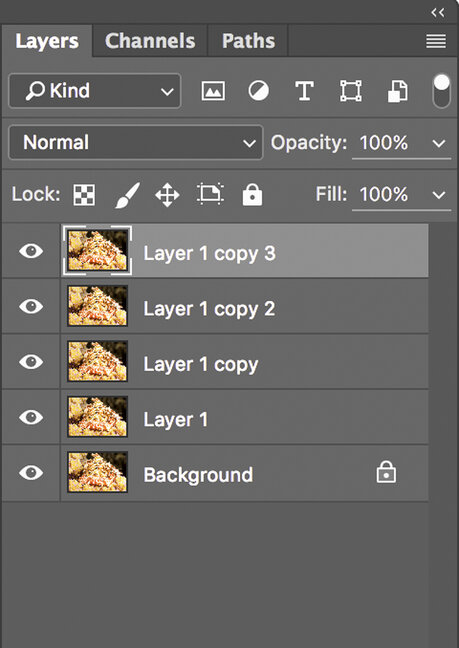
Once back in front of my computer I will then do my standard adjustments of color, highlights and shadows and any other needed corrections in Lightroom. The only thing I do not adjust is sharpening. Next, open the RAW file in Photoshop through Lightroom’s ‘Edit Photo In’ tool and create five identical layers of the file.
On the top layer I go to FILTER – OTHER – HIGH PASS.
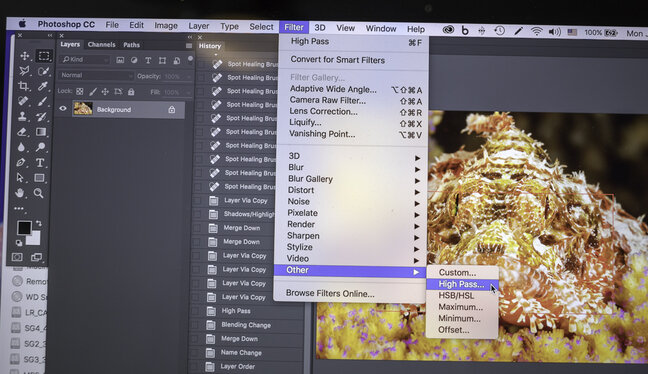
You will immediately see your image turn into a strange-looking cloudy negative.
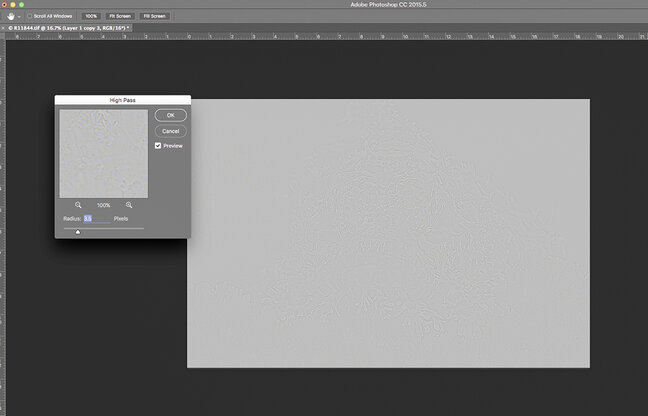
Don’t panic. You will also see the HIGH PASS dialog box with just one adjustment called RADIUS. I start with it set at 3.5 for a file from my 5D Mark 4. The size of the file you are working with and the image itself will determine what the best setting will be. This is often a matter of trial and error. Click OK and then go to the layers panel and pull down the blending mode menu that is on NORMAL as default. Move down the menu and select OVERLAY.
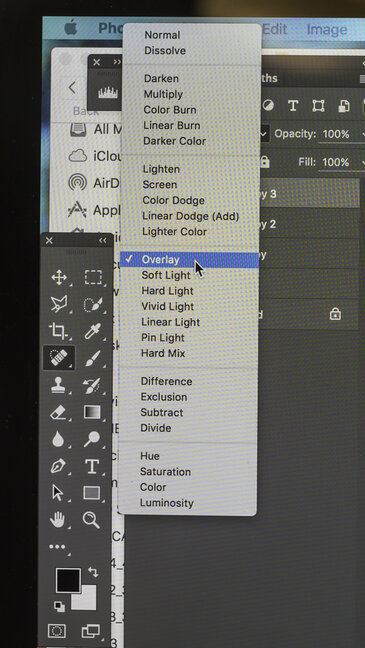
Your image will now return to something you are more used to seeing, only sharper. Zoom in, move around the image and click the eyeball icon to turn visibility of the layer off and back on. You should see a substantial difference with sharpness of your image.
If you are pleased with the amount of sharpening, go to the LAYERS menu and select MERGE DOWN (keyboard shortcut COMMAND – E on a MAC) near the bottom.
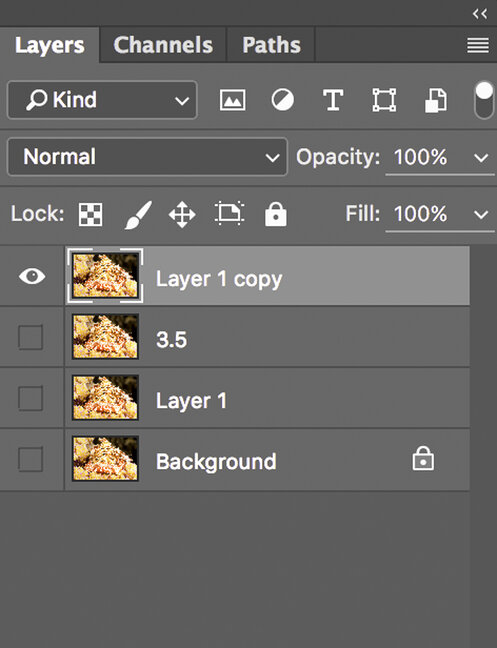
We are not done yet. Double click the top layer (the sharpened one) and rename it 3.5.
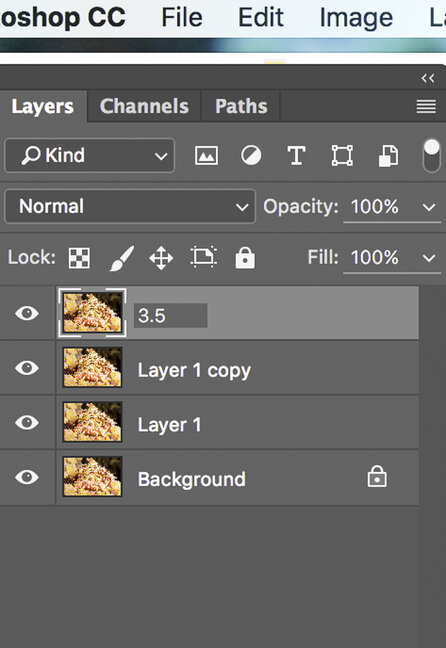
I do this to remember the setting at which I ran the HIGH PASS filter. Next, drag that layer down one level. Now you now have an original layer that has not been sharpened on the top.
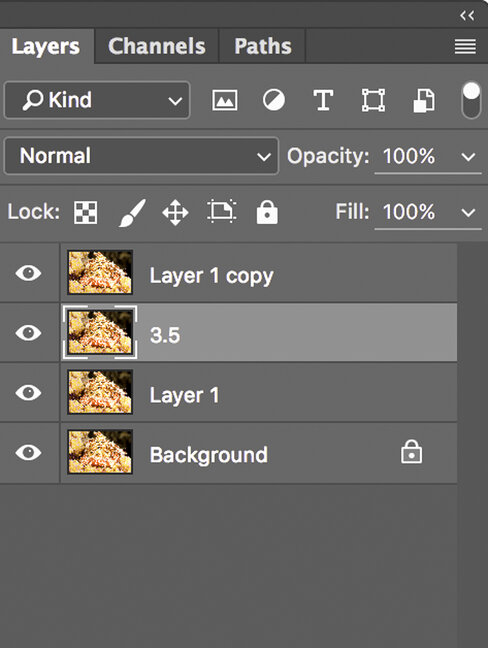
Click the three eyeball icons on the lower layers to turn them off.
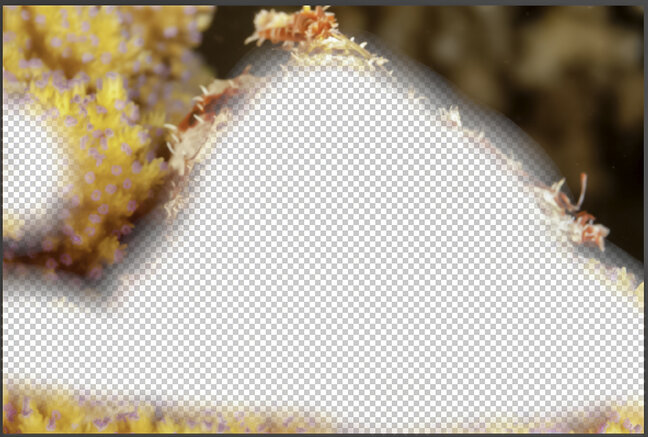
Next, select the ERASER TOOL (E). In the case of this scorpionfish, I only want to sharpen the fish itself. I find that if you sharpen areas that are not in focus you tend to just add noise and/or unwanted artifacts to these areas. This is particularly true of blue water or any negative space that is a color gradient. Turn the OPACITY to 100% and then erase what you want to have sharp. Use a large enough brush to have a reasonable feather at the outside of your subject.
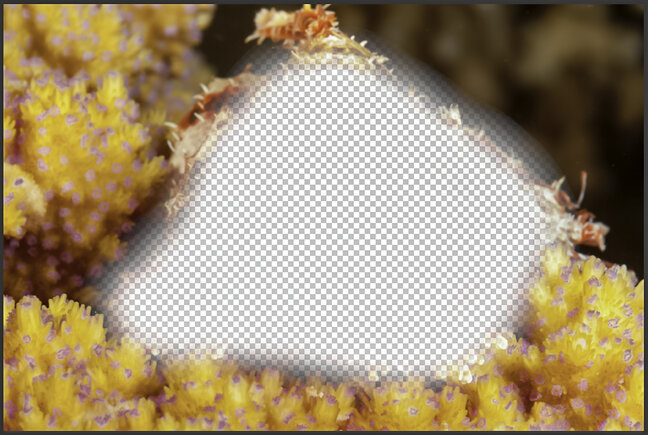
In doing this, you now have a graduated border leading to the sharpened subject. Anything besides the subject that is also in focus I will erase, in this case the coral polyps across the lower middle of the frame.
Now turn all the layers back on and click the 3.5 layer off and on to see the extent of what you have done.
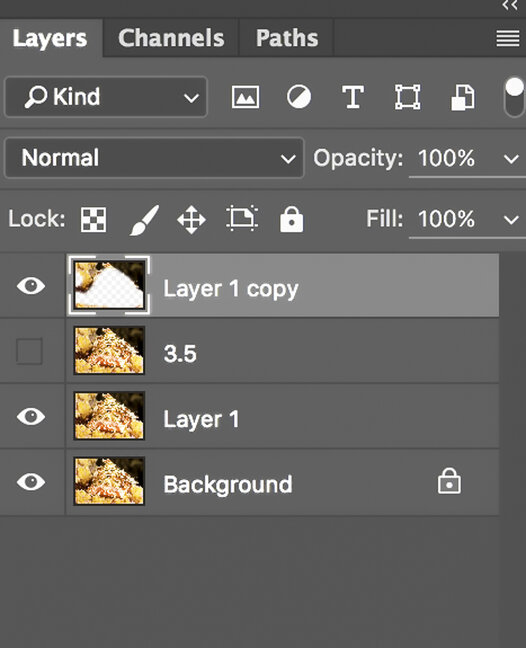
If this looks good, you can flatten the image and then save it as you wish. If this is not what you want, you can then throw away the 3.5 layer and repeat the whole process using a higher or lower RADIUS setting to increase or decrease the level of sharpening.
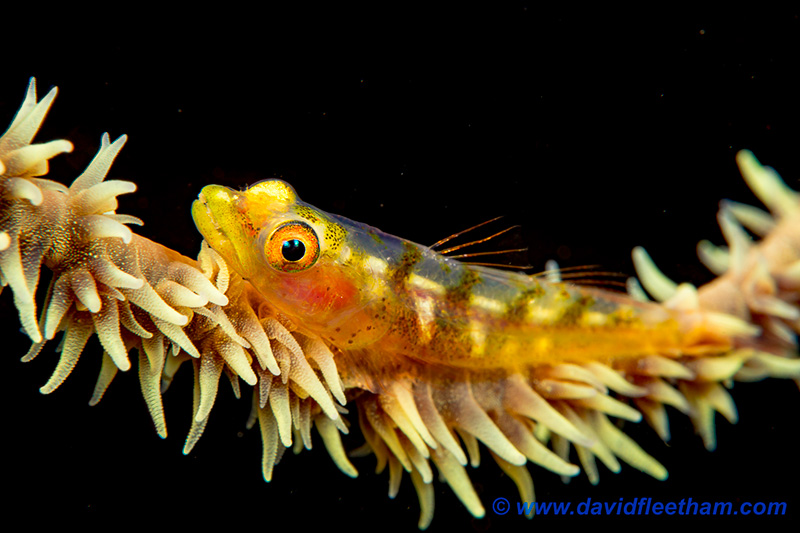
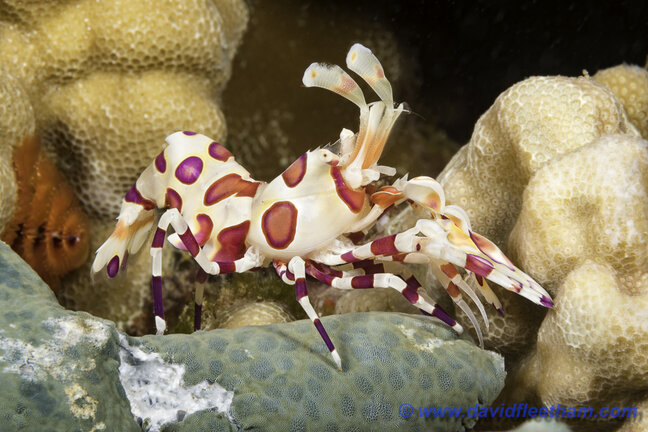
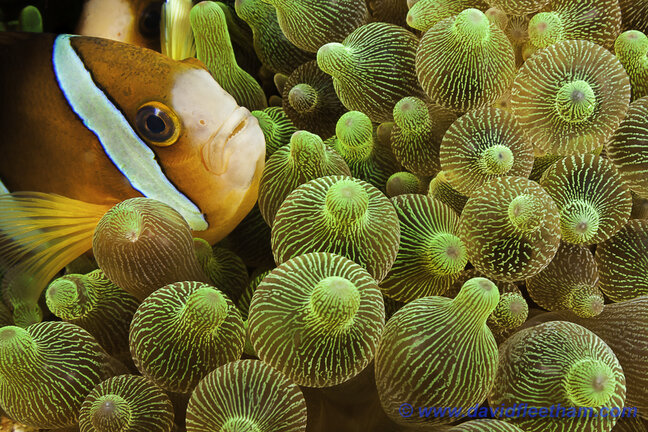
Other Sample Photos Using These Techniques: