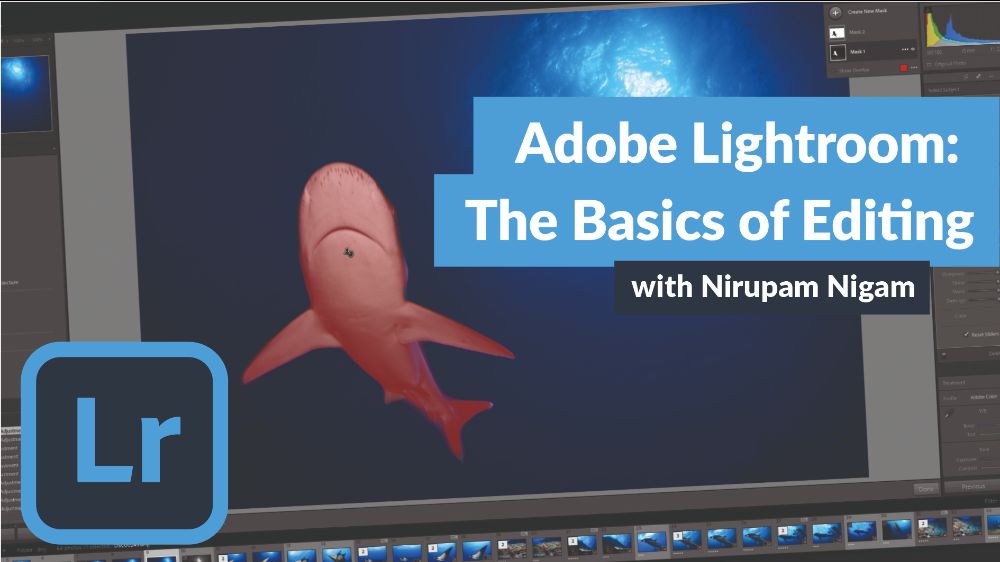
The Basics of Editing Underwater Photos in Adobe Lightroom
Adobe Lightroom is the most popular post-processing tool used by underwater photographers. It serves as both an essential organizational and editing tool. We recommend that underwater photographers with laptops download Adobe Lightroom Classic as you don't need to be hooked up to the cloud in a remote location. However, you may be an underwater smartphone photographer or prefer to edit on an iPad. In this case, Adobe Creative Cloud will be a better option. This tutorial is designed for Adobe Lightroom Classic. Creative cloud has a slightly different design but the tutorial below will show you the same functionality and should still provide some help to creative cloud users.
The following two tutorial videos split Adobe Lightroom Classic into two parts - Part I is Lightroom Organization and Part II is the basics of editing underwater photos. While they cover basic lightroom functions, even if you are a Lightroom expert you may just learn a few tips and tricks. If the videos are two fast for you, they are hosted on YouTube and you are welcome to slow them down to 75%. To learn more about Adobe Lightroom, join us on one of our many underwater photo workshops.
![]()
Support our content shop at Bluewater Photo!
Part 1: Organization in Adobe Lightroom
While Adobe Photoshop has more editing features than Lightroom, most underwater photographers prefer to work primarily in Lightroom because it is an organizational powerhouse. Lightroom was designed to allow photographers to quickly import their photos into the program, sort & cull rejected photos, and finally export selected edits. It also has powerful look up and photo display capabilities that allow you to sort photos based on almost any metric and metadata. This video tutorial with Editor-in-Chief, Nirupam Nigam, covers organizing photos in your hard drive, importing photos, viewing & culling photos, exporting photos, and Lightroom collections. It is hosted on YouTube and organized into chapters so you can flip directly to the section you are most interested in.
Video Chapters:
0:00 - Introduction
2:04 - Opening Lightroom
5:04 - Lightroom Anatomy
6:33 - Folder Structure
9:39 - Importing Photos from Harddrive
15:51 - Folder Organization
21:22 - Importing Photos from SD Card
28:03 - Viewing Photos
29:52 - Surveyor View
30:47 - Rejecting & Deleting Photos
33:42 - Picking Photos to Edit
35:58 - Flagging with star ratings
38:57 - Flagging with colors
40:58 - Flagging Recap
42:19 - Keywords
45:35 - Metadata
50:01 - Folder organization for export
52:12 - Finding a missing folder
54:10 - Moving folders
56:38 - Moving photos between folders
57:59 - Exporting
1:04:56 - Watermarking
1:09:29 - Collections
1:16:09 - Slideshow
Part 2: Editing Underwater Photos in Adobe Lightroom
Part II of this tutorial covers the basics of editing underwater photos. We cover each of the tools in the "develop" panel including basic exposure & color corrections, masking tools, cropping, noise reduction, sharpening, and removing backscatter. At the end of the tutorial we go over a few more example photos to demonstrate the techniques learned. The newest version of the program, Lightroom 11, introduces revolutionary masking tools, and we highly recommend upgrading if you haven't already. The tutorial is hosted on YouTube and organized into chapters so you can flip directly to the section you are most interested in.
Video Chapters:
0:00 - Introduction
1:58 - Picking photos to edit
6:40 - Intro to the develop module
7:58 - Intro to presets and history bar
9:06 - White Balance Correction
13:10 - Understanding your histogram
15:53 - Exposure adjustments
17:32 - Midtone Contrast (Clarity, Dehaze, & Texture)
19:50 - Cropping
25:37 - Tone curve
28:28 - HSL/Color Editing
30:16 - Viewing edits before & after
30:58 - HSL/Color Editing Cont.
34:04 - Color grading
35:38 - Denoise and Sharpen (Details)
38:37 - Lens Corrections
46:16 - Copy & Pasting Edits
50:58 - Spot (Backscatter) Removal Tool
59:09 - Removing & Adding objects
1:00:57 - Spot Tool Q&A
1:05:50 - Masking Tools
1:11:49 - Backscatter removal w/ masking tools
1:14:04 - View Masks
1:15:57 - Advanced Masking Techniques
1:22:14 - Flipping Photos & Toolbar
1:23:16 - Creating virtual copies
1:23:56 - Convert to Black & White
1:26:10 - Sorting for Export
1:27:26 - Whale Photo Example
1:33:54 - Vibrance & Saturation
1:34:45 - Whale Example Cont.
1:42:08 - Lobster Photo Example
1:52:42 - Macro Nudibranch Example
1:57:43 - Macro Squid Photo Example
2:01:44 - Exporting
RECOMMENDED ARTICLES


ABOUT THE AUTHOR

Nirupam Nigam is the Editor-in-Chief of the Underwater Photography Guide and the President of Bluewater Photo - the world's top underwater photo & video retailer. While growing up in Los Angeles he fell in love with the ocean and pursued underwater photography in the local Channel Islands. After receiving degrees in Aquatic and Fisheries Science and General Biology, as well as a minor in Arctic Studies, Nirupam worked as a fisheries observer on vessels in the Bering Sea and North Pacific. Since then, Nirupam has been a full time underwater photographer and photo gear head. Check out more of his photography at www.photosfromthesea.com!
ALSO BY NIRUPAM NIGAM


SUPPORT THE UNDERWATER PHOTOGRAPHY GUIDE:
The Best Service & Prices on u/w Photo Gear
 Visit Bluewater Photo & Video for all your underwater photography and video gear. Click, or call the team at (310) 633-5052 for expert advice!
The Best Pricing, Service & Expert Advice to Book your Dive Trips
 Bluewater Travel is your full-service scuba travel agency. Let our expert advisers plan and book your next dive vacation. Run by divers, for divers.