- The Guide
- Articles
- Tutorials
- Settings
- Macro & Wide-angle Settings
- Top 5 Settings
- Canon 5d Mk Iii Settings
- Canon 7d Mk Ii Settings
- Canon G7x Ii Settings
- Nikon D7000 Settings
- Nikon D800 / D810 Settings
- Olympus OM-D E-M1 Mark II Settings
- Olympus E-m1 Settings
- Olympus E-m5 Settings
- Olympus E-m5 Mk2 Settings
- Olympus Pen Settings
- Panasonic Gh4 Video Settings
- Sony A7r Ii Settings
- Sony Rx100 Ii, Iii, Iv & V Settings
- Reviews
- Trips & Travel
- Buy Gear
- recent news
Technique/Tutorial
Underwater photo tutorials, techniques and tips for all types of underwater photo and video, including macro, supermacro, wide-angle, composition and best camera gear.
-
 Olympus TG-7, TG-6, and TG-5 Underwater Settings
The Olympus TG-7, TG-6, and TG-5 are three of the most popular compact cameras currently on the market for underwater photographers. […]
-
 Nikon ZR Underwater Settings
The Nikon ZR is the hottest new cinema camera in 2026 . It is also the first product of the […]
-
 Sony A1 II Underwater Settings
The Sony A1 II is Sony’s newest flagship full frame mirrorless camera featuring a 50 megapixel sensor with 8K and […]
-
 Using a Crop Sensor Lens on a Full Frame Camera (and Vise Versa)
One of the most common questions we get at the Underwater Photography Guide from full-frame shooters is “Can I use […]
-
 Sony A9 III Underwater Settings
The Sony a9 III is this year’s most exciting camera as it represents the first full-frame mirrorless camera model with a […]
-
 How to Set Up and Maintain Your Underwater Camera
Setting up your new underwater camera can be a daunting task. Between all the new extensions, dome ports, zoom gears, […]
-
 Fluoro Diving
Jump to a Section Part I | Physics | Biology | Applications Part II | Lights & Filters […]
-
 The Newest Underwater Photo & Video Gear in 2024
Every year, we attend the DEMA (Diving Equipment and Manufacturing Association) tradeshow – the world’s largest Dive Industry and Underwater […]
-
 Sony A6700 Underwater Settings
The Sony A6700 is the latest upgrade to the Sony a6000 aps-c series of cameras. Equipped with Sony’s latest advancements […]
-
 Marelux SOFT Lite Snoot Review
Note from the Editor: The new Marelux SOFT Lite is now only 600 grams on land and completely neutral underwater! This […]
-
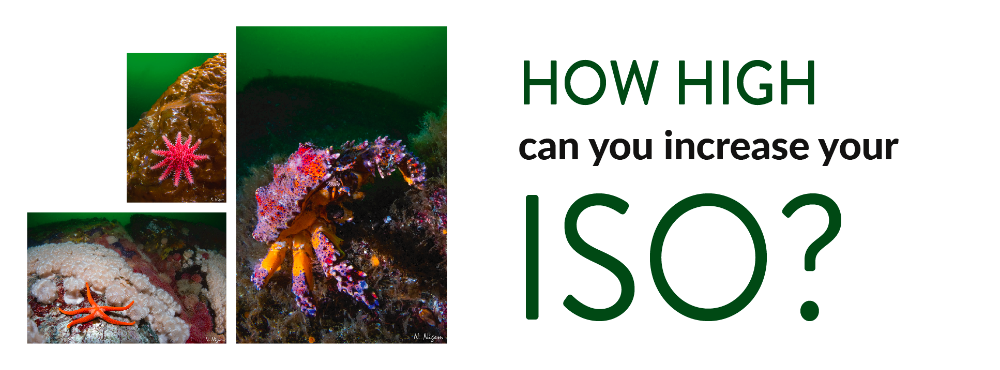 How High Can You Increase Your ISO?
ISO is the black sheep of exposure settings. For many new photographers it can be difficult to understand what the […]
-
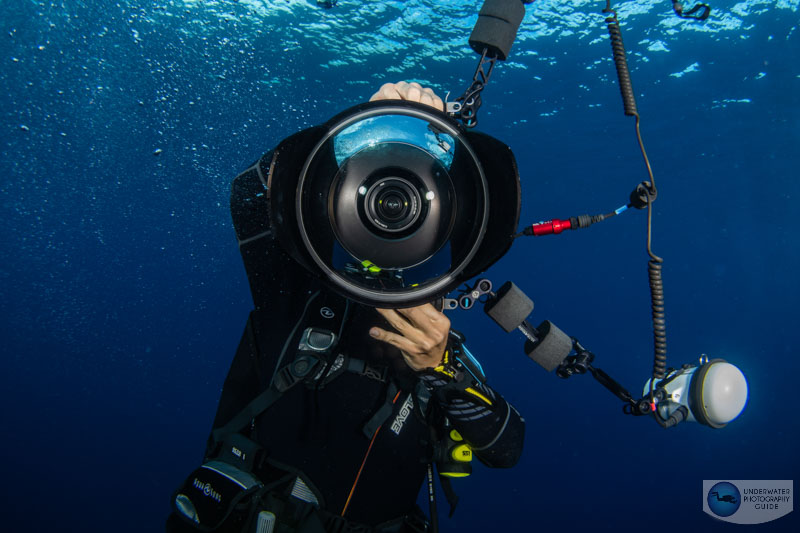
 Nauticam EMWL (Extended Macro Wide Angle) Lens Review
The Nauticam EMWL (extended macro wide lens) is a unique optical tool for underwater macro and wide angle photographers. It uses […]
-
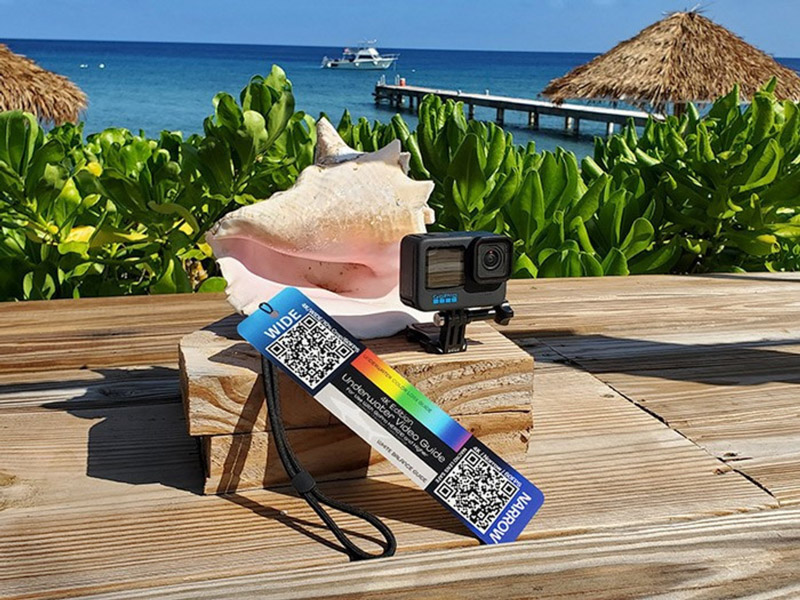 Change GoPro Underwater Settings with QR Codes
GoPro action cameras are some of the most popular cameras for underwater video shooters. While they produce incredible footage for […]
-
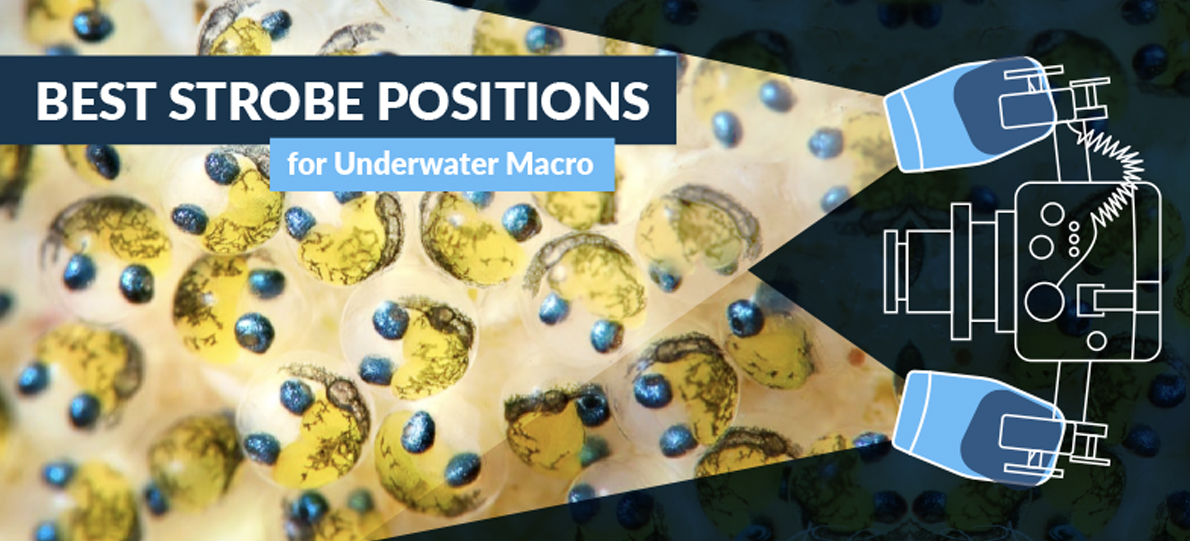 Best Strobe Positions for Underwater Macro Photography
Lighting is one of the most important keys to underwater macro photography. It brings out incredible detail from subjects and […]
-
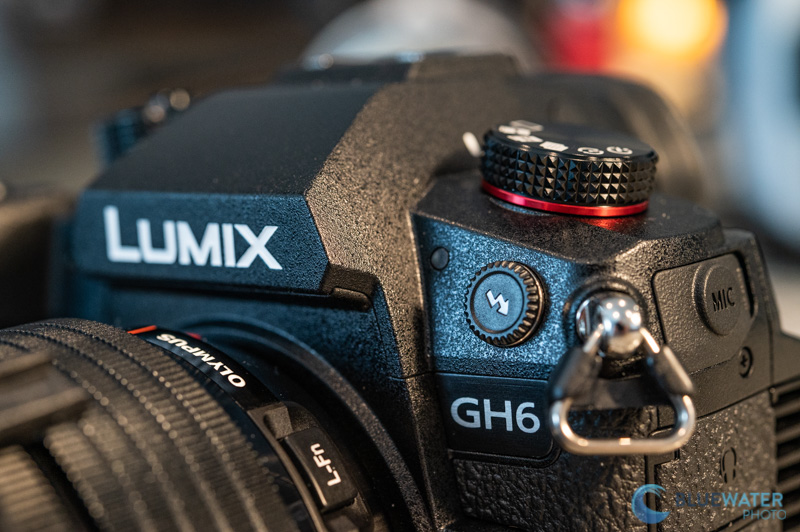 Panasonic GH6 Underwater Settings
The Panasonic GH6 micro four thirds mirrorless camera is an exciting update to the extremely popular Pansonic GH5 and the GH5s. For […]
-
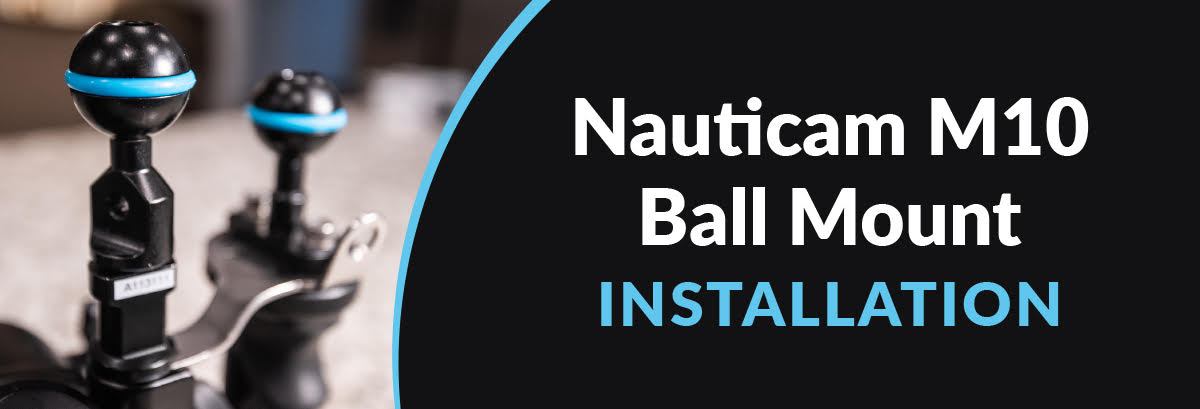 Nauticam M10 Ball Mount Installation
The Nauticam M10 ball mount is one of the most popular accessories for Nauticam housings. It allows you to add […]
-
 How to Start Taking Underwater Photos
You may have seen a magestic photo of a humpback whale and her calf or a shining kelp forest filled […]
-
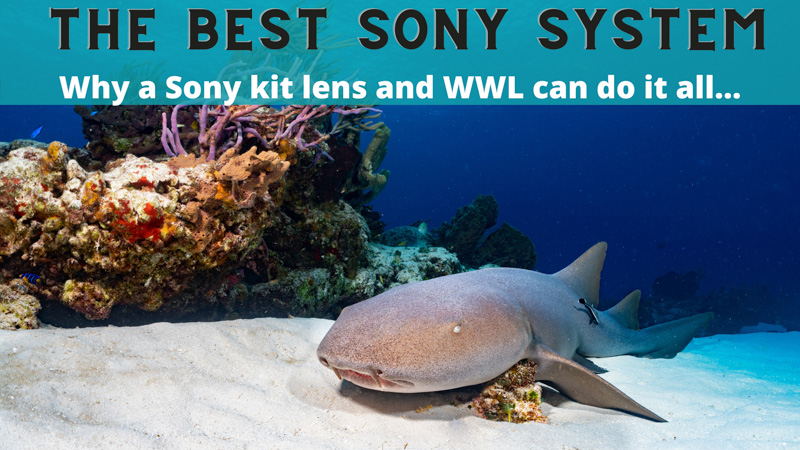 The Best Sony Wide Angle Lens for Underwater Photography & Video
It’s no secret that Sony makes incredible camera bodies with industry leading technology. The Sony A1, as Sony’s flagship camera, […]
-
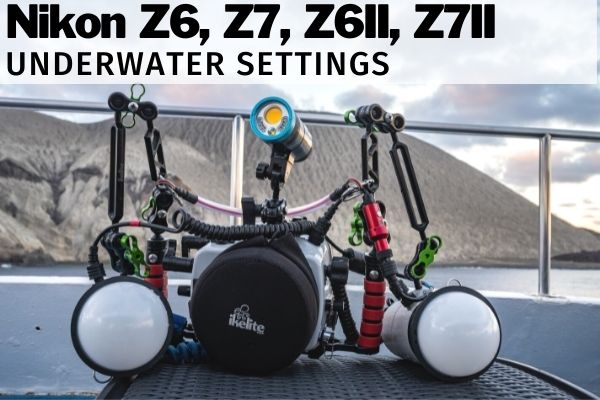 Nikon Z7, Z7II, Z6, Z6II Underwater Settings
The Nikon Z7, Z6, Z7II, and Z6II are all excellent options for underwater photography. I should know – after every […]
-
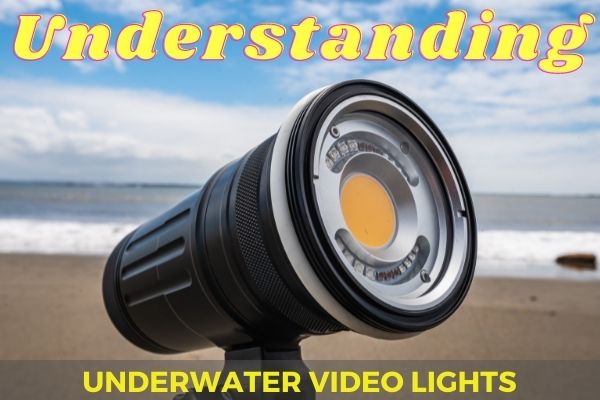 Understanding Underwater Video Lights
It seems like there are more kinds of underwater video lights than there are cameras for underwater video. But if […]
-
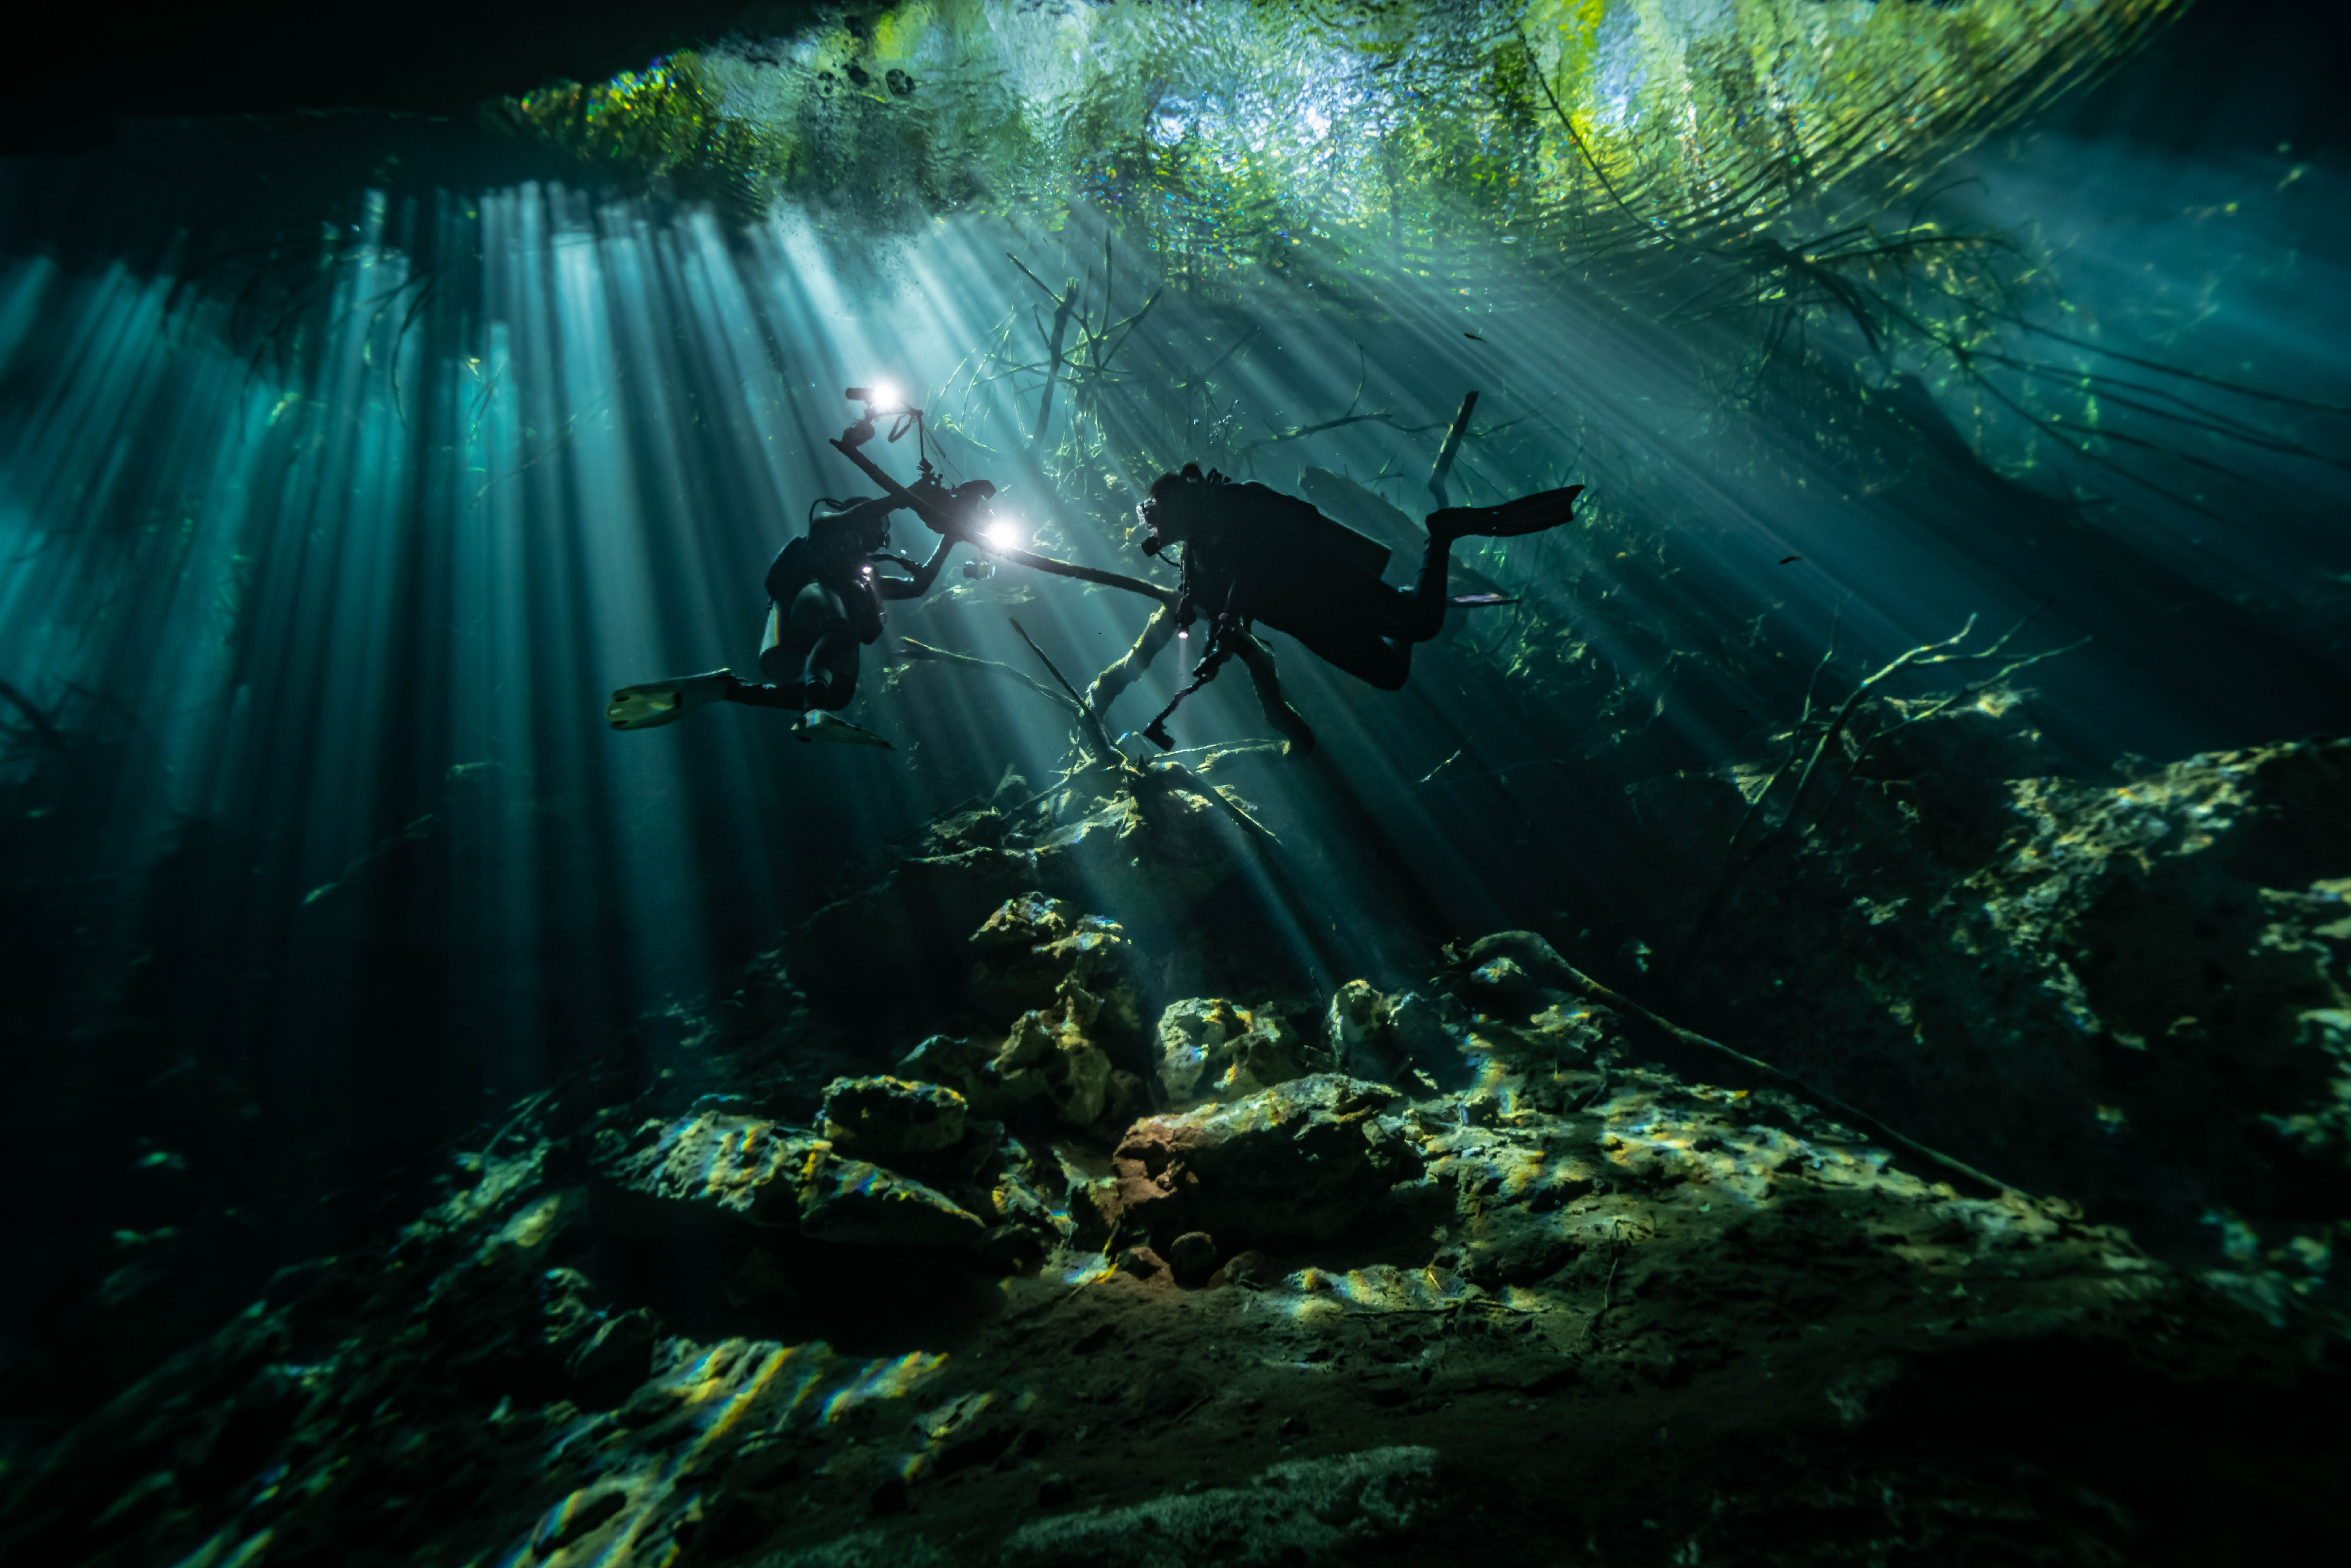 Top 11 Tips for Cenote Photography
The cenotes of Mexico’s Yucatan Peninsula offer a unique diving and underwater photographic opportunity. They have often been ranked among […]
-
 Wide Angle Macro Photography
“Wide angle macro photography” is the ultimate oxymoron of underwater photography. Yet, our data shows that variations of this […]
-
 Nauticam & Isotta Housings Are Compatible with Ikelite TTL!
If you are an underwater photographer with a Nauticam or Isotta housing or any housing with an M14 or M16 bulkhead, […]
-
 External Underwater Video Monitors & Recorders
As underwater videography becomes more accessible, some of the tools that have previously only been used by professionals are becoming […]
Most popular chapters of the Underwater Photography Guide
Recent News
-
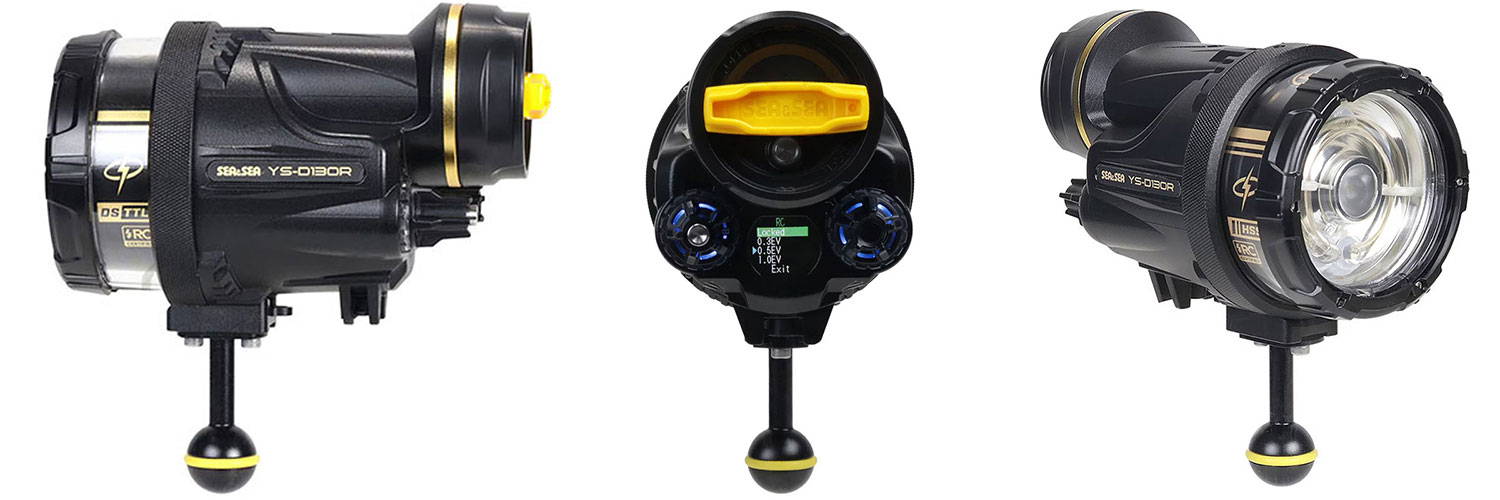
Bluewater Photo announces the new Sea & Sea YS-D130R Underwater Strobe
-

Competition Details
-

Ocean Art 2025 Competition Announced
-

Bluewater Photo announces the Release of the the Nauticam MFO-3 Mid-range Focus Optimizer 3
-

Bluewater Photo announces the Release of the New Ikelite Ecko Fiber and Ecko DS Underwater Strobes
-

Bluewater Photo announces the Release of the New Ikelite DS165 and RC165 Underwater Strobes
-

Bluewaterphoto announces the Release of the Sealife Sportdiver S Smartphone Housing
-

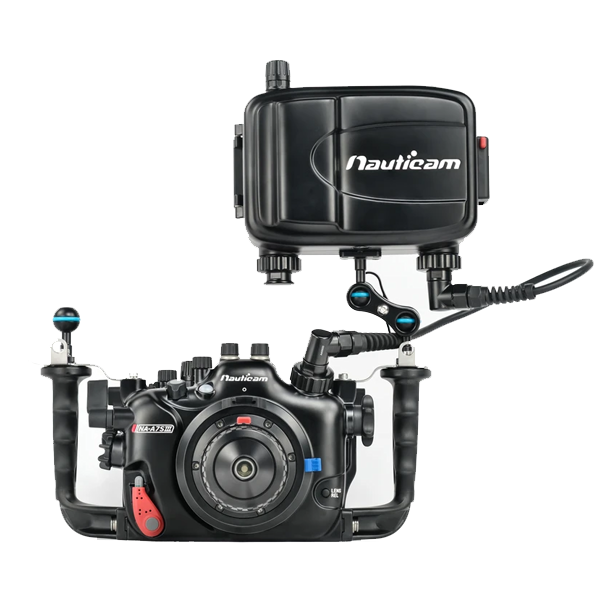
Bluewater announces their Nauticam Underwater Housing for the Panasonic S1R II Camera
Our Youtube Channel
Our Partners


